How to Make a Bookmark: A Step-by-Step Guide
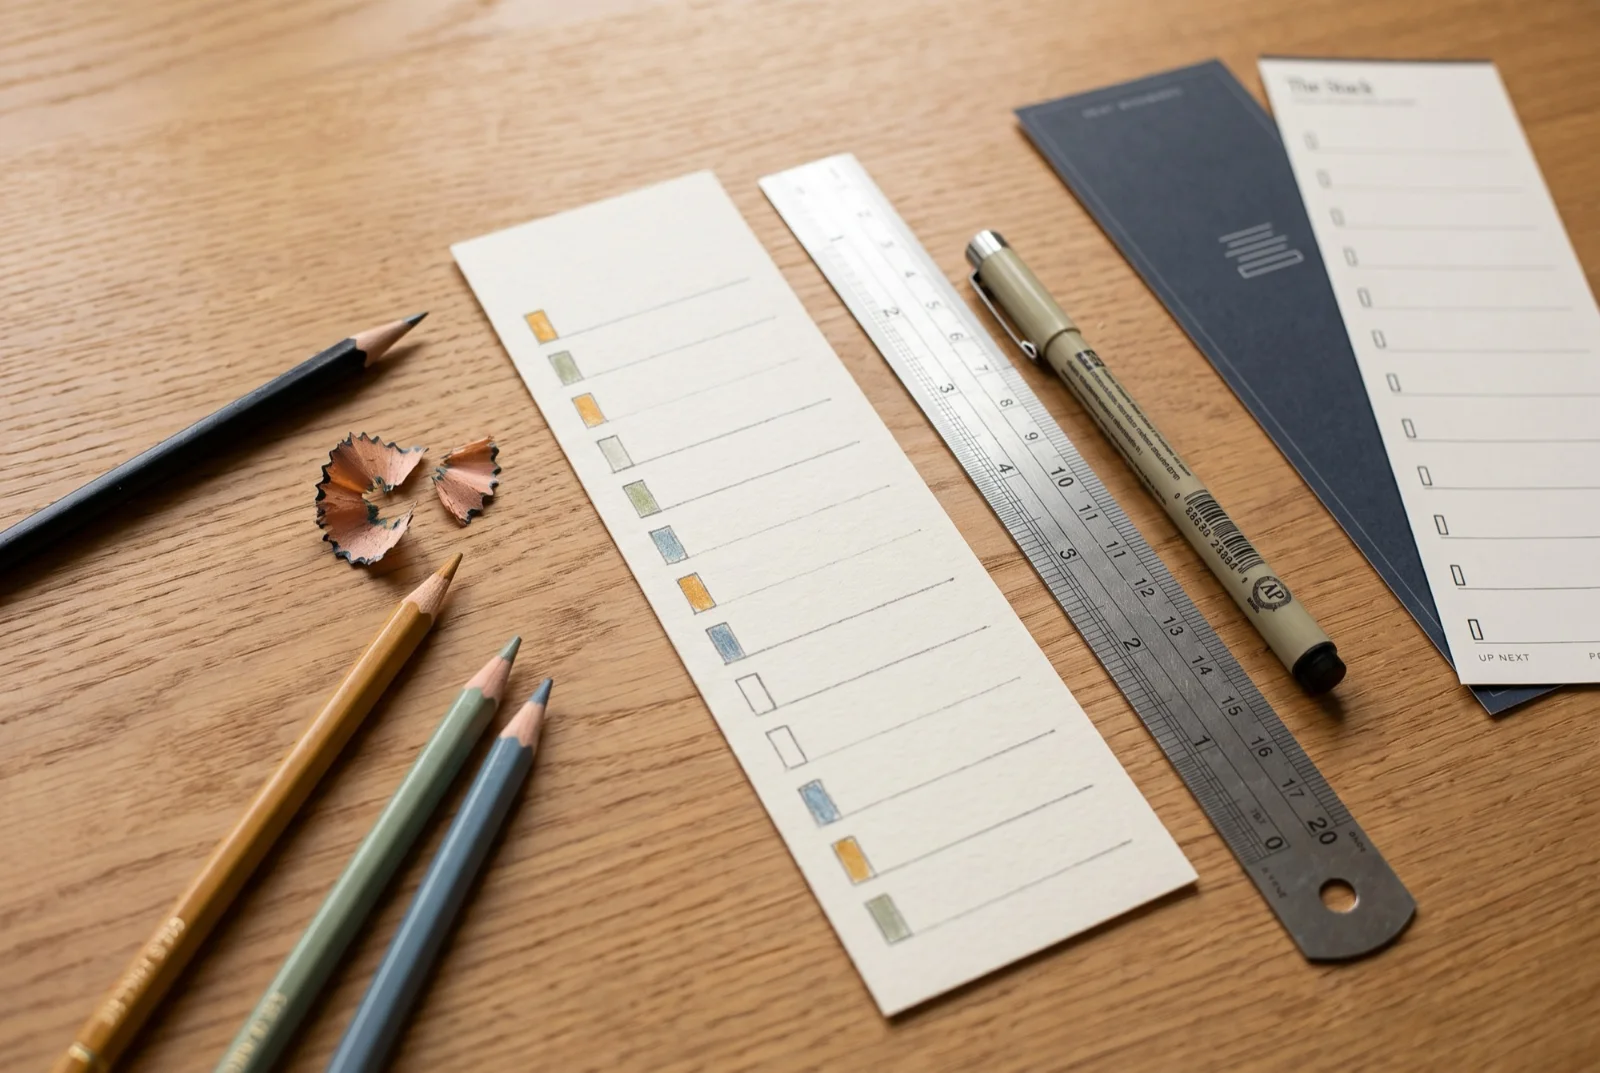
A spare hour, a sheet of card and a book with a folded corner are enough to begin. To make a bookmark, cut a strip of cardstock about 2 by 7 inches and decorate it by hand or print a design. Lamination and a tassel finish it off. Knowing how to make a bookmark well mostly comes down to clean cuts and the right card.
How to Make a Bookmark at a Glance
The whole job takes six steps, and only the last one is optional. Most bookmarks are done in one sitting.
| Step | What you do | The choice to make |
|---|---|---|
| 1 | Gather materials | Card weight, and how you will cut |
| 2 | Pick a size | A length that stays inside your book |
| 3 | Design it | By hand, or on screen in a design tool |
| 4 | Print or draw it | Printer at actual size, or pens and paint |
| 5 | Cut it out | Trimmer, or a metal ruler and a craft knife |
| 6 | Finish it | Lamination, a tassel, or a bare edge |
Step 1: Gather the Materials
Cardstock is the one material you cannot skip, because paper of ordinary weight bends inside a book. A matte card of about 176 gsm, sold as 65 lb cover, is stiff enough and still runs through most home printers. Matte takes pencil too. You will want that if you plan to write on the back. The guide to cardstock for bookmarks covers weights and printer limits in detail.
| Material | What it is for | If you do not have it |
|---|---|---|
| Matte cardstock | The bookmark itself | The back of a cereal box, cut and covered |
| Metal ruler and pencil | Marking straight lines | Any straight edge that does not bend |
| Craft knife and cutting mat | Clean, straight edges | Sharp scissors and a steady hand |
| Pens, colored pencils, washi tape | Decoration | Stickers, stamps or a printed design |
| Laminating pouch or clear contact paper | Protection | A plastic sleeve, or leave it bare |
| Hole punch and embroidery floss | A tassel | Ribbon, cord or nothing at all |
Step 2: Pick a Size That Fits Your Book
Choose a length that ends at least a quarter inch below the top of the pages, so the bookmark stays hidden and flat. For most paperbacks that is 2 by 7 inches. Taller books take 2 by 8 inches. Measure the book you read most before you cut anything.
Width depends on what goes on the bookmark. A plain marker or a ruled list you write on fits on 2 inches. A drawing or a quote gets more room at 2.5 inches. A quick test strip of scrap card shows whether the length works.
Step 3: Design It by Hand or on Screen
A bookmark design can be as simple as a pattern drawn with a ruler or as finished as a printed illustration. Decide first what the bookmark is for. A plain marker can carry any picture. A bookmark you write on needs ruled lines, and those lines need space.
By hand, sketch everything in light pencil, then go over it in ink once the spacing looks right. Colored pencils and fine felt tips work well on matte card. Wet paint can make thin card ripple, so test a corner first.
On screen, set the page to the finished size of the bookmark before you add anything. Any design program that lets you set a custom size in inches will do. For printing, Amazon's KDP image guidelines recommend 300 DPI, so a 2 by 7 inch design should be 600 by 2,100 pixels.
Pro Tip: Rule tracker lines half an inch apart, then write one sample entry on a scrap of the same card. If your handwriting crowds the line, widen the spacing before you ink the real one.
For the front, a favorite line from the book, a reading list, a pressed leaf or a small map of the setting all work. The list of bookmark ideas has more, with what each one needs.
Step 4: Print or Draw the Bookmark
Print a digital design at actual size (100%), because a "fit to page" setting shrinks the strip. Lay three 2 inch strips side by side on one sheet to save card. Print one test page on plain paper first and hold it against the book. A two-sided design needs one more check.
A two-sided bookmark needs its back to land behind its front. Use the two-sided setting and flip on the long edge. Try it on plain paper first and hold the sheet to a window to see whether the two sides line up.
A hand-drawn bookmark skips the printer entirely. Draw on the strip after you cut it, so the design sits inside the edges. Let ink dry for a few minutes before you stack the strips.
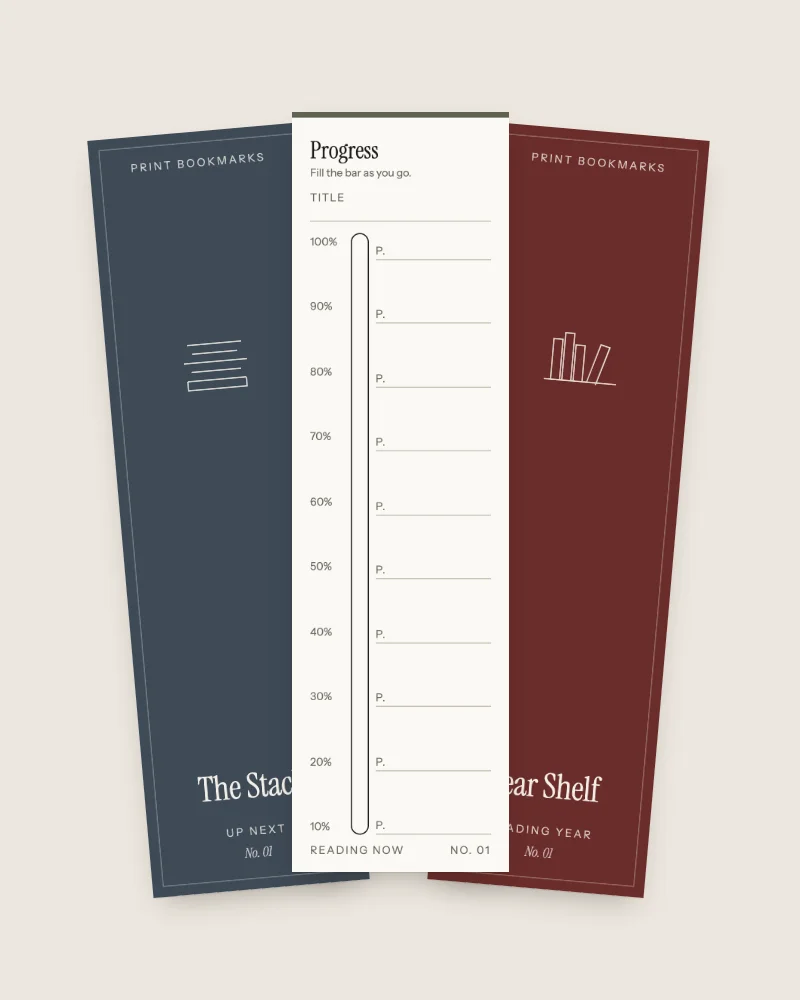
A ruled tracker is the one bookmark where making your own costs the most time. Ruling twelve even rows on six strips is slow work. Our printable sets come with backs already ruled for one job each, such as a to-read pile or a progress bar. Each set downloads as a zip with a US Letter PDF, an A4 PDF and a README. The link arrives in your receipt email right after payment. You can see the eighteen trackers on the page for our three bookmark sets.
Step 5: Cut It Out Cleanly
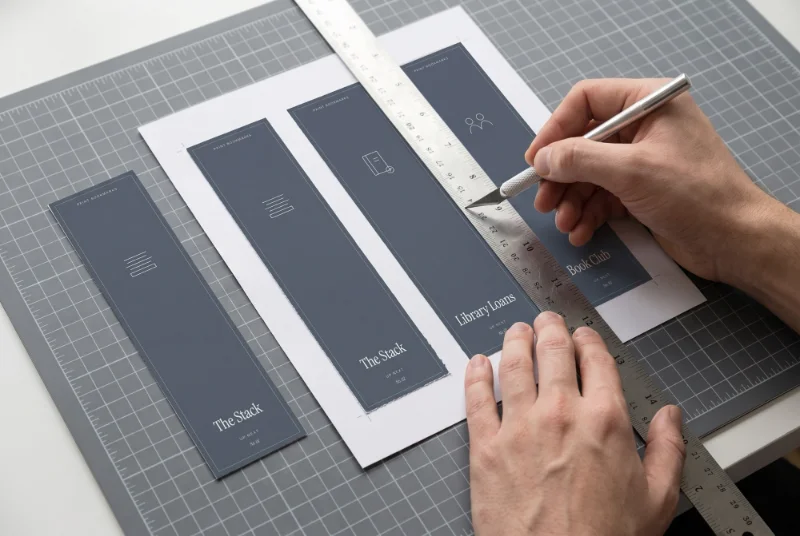
Cut the long edges first, then the short ends, so each strip keeps square corners. A paper trimmer is quickest. A metal ruler and a sharp craft knife on a cutting mat give the same clean line. Press the ruler down firmly and pull the knife toward you in two or three light passes.
Sharp scissors also work, though a long straight cut is harder to keep true with them. Score a light pencil line and cut just outside it. A corner rounder softens the four corners if you like a finished look.
Step 6: Laminate, Punch, Then Add a Tassel
Finish in a set order. If you laminate, either punch through the film afterward and fit an eyelet over the bare card, or punch a larger hole before laminating and a smaller one through the film. The guide to laminating bookmarks gives the sizes.
Lamination protects a bookmark you only look at, such as artwork, a photo or a pressed flower. A thermal pouch needs a laminator and gives the firmest finish. Self-adhesive laminating sheets or clear contact paper do a similar job by hand, with a softer result. Skip lamination on a tracker, since the film stops pencil, and slip it in a plastic sleeve instead. Press flowers between blotting paper rather than inside a book you keep. The Canadian Conservation Institute warns that flowers pressed in books can stain the paper.
For the tassel, punch a hole about 3/8 inch from the top, centered. Wrap embroidery floss about 20 times around a 3 inch piece of card. Tie the loops at the top, cut them at the bottom, and wrap a second piece of floss around the neck. Thread the tassel through the hole with a loop knot.
A single skein of floss covers more than one bookmark. DMC sells its six-strand embroidery floss in 8.7 yard (8 meter) skeins. A tassel of 25 wraps around a 3 inch card uses about 150 inches, plus a foot for the ties. One skein therefore makes about two full tassels. The guide to a bookmark with a tassel covers cords and ribbons as well.
Key Takeaway: One 8.7 yard skein of six-strand floss is enough for about two 3 inch tassels of 25 wraps each.
A homemade bookmark is the better choice for a one-off gift, a child's drawing, or a design built around one book. Our printable sets suit a different job. They give you matching ruled trackers, and they will not carry your own artwork or a name.
FAQ
What is the best material to use for making homemade bookmarks?
Matte cardstock of about 176 gsm, sold as 65 lb cover, is the best starting material. It stays flat in a book, takes pencil and feeds through most home printers. Heavier card goes through a rear or manual feed, and only up to the weight your printer's manual lists.
How do you make a cute bookmark easily?
Cut a 2 by 7 inch strip of colored card and decorate it with washi tape, stickers or a stamped pattern. Punch a hole at the top and tie a short tassel of embroidery floss. No printer needed.
How do I design my own bookmark?
Start with the finished size, such as 2 by 7 inches, and decide whether the bookmark is for looking at or writing on. Sketch it in pencil and ink it, or set up a 600 by 2,100 pixel canvas in a design program. Print at actual size and cut it out.
How long does it take to get a printed bookmark in hand?
Our sets download right after payment, since the receipt email brings the link. After that, the only wait is printing at actual size and cutting a sheet of three, long edges first.
Can I print a bookmark set again or give it away?
Yes. You can print our sets as often as you like for you and your household, and give the printed bookmarks as gifts. The file itself is for you only, so please do not share or resell it.
Conclusion
Pick matte card, cut it to fit your book, and design for the job the bookmark will do. Print at actual size or draw by hand, and cut the long edges first. Finish in order, with lamination before the hole and the tassel last. A single skein of floss covers two tassels, and a single sheet of card covers three bookmarks. When the job is a ruled tracker, a printed set saves the slowest part.
Sources
- DMC, Six-Strand Embroidery Floss (n.d.) (last checked 2026-10-02)
- Amazon Kindle Direct Publishing, Format Images in Your Book (n.d.) (last checked 2026-10-02)
- Canadian Conservation Institute, Basic Care: Books (2018) (last checked 2026-10-02)