How to print bookmarks at home
Print the file at the size written on the page, then cut on the lines. Match the paper size in the tray to the page size the file names.
How do you print at actual size?
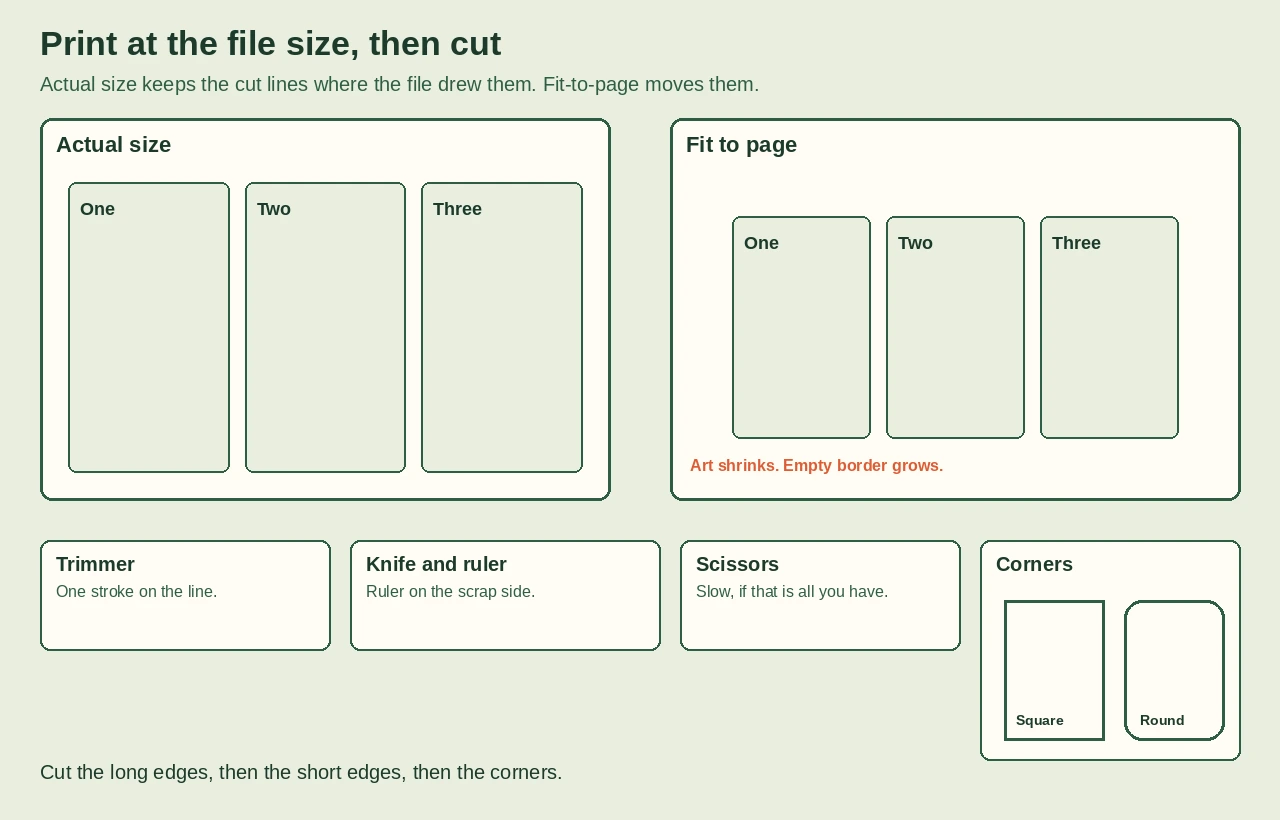
Open the PDF and read the page size before you touch the scale. A Letter page needs Letter paper. An A4 page needs A4 paper. Choose Actual size when the dialog offers it. Microsoft Edge calls the no-scaling choice Actual size, and that choice prints the file at its original size. Fit to printable area shrinks or grows the file so the art sits inside the printable area. Leave that choice off. Measure one printed strip and compare it with the size the file states, not against a shrunk preview. A menu name on one printer will not match every brand, so look for the same choice under your printer's own wording.
If the menu shows only a percent, choose 100%, which Epson's copy settings call Actual Size.
Set the paper type to the card or thick setting. If your printer has a rear or manual feed slot, load card stock there one sheet at a time and follow the picture it shows. Otherwise use the tray your manual names for card.
If the tray holds the other size, use the sheet-size guide.
Which sheet to buy is in the paper weight guide.
What should the test page show?
Look at the preview first. The cut lines should sit on the page, not clipped off an edge, and not floating in a wide empty border. If the preview is wrong, change the scale or the paper size and look again. Then print one cheap sheet of plain paper in the same size, and hold it next to the screen. The lines on the paper should match the preview, and a smaller copy means scaling is still on. A miss here costs one plain sheet and a setting you can still change, which is why the card waits until this sheet is right.
Microsoft Edge says many printers need about 0.25 inches, or 6.35 mm, of margin on each side. A cut line closer than that can vanish even when Actual size is on. If a line is lost, cut along the edge of the printed art instead. Do not scale the page to drag the line into the margin. That changes every strip. If the back has to meet the front, use the front and back guide before you cut.
How do you cut a straight edge?
A trimmer keeps the blade on one line. Set the sheet against the guide, hold it down, and make one stroke. A craft knife and a metal ruler also cut straight, if you keep the ruler still. Put the ruler on the scrap side of the line, so a slip wastes the scrap, not the bookmark. Cut away from your fingers. Scissors are the fallback when the other tools are not in the house. Go slowly, and stop if the sheet twists in the blades. Square corners are fine. To round them, use a corner punch, or guide the knife along a small curve. Do not freehand both corners with scissors if you want them to match. Cut the long edges first, then the short edges, then the corners. Slip one strip into a book. If an edge snags the page, recut that edge before you cut the rest.
You have the scale and the cut in front of you. All three is the reading-tracker set you print at home, if you would rather print a reading tracker than design one.