How to Print Bookmarks: A Step-by-Step Guide
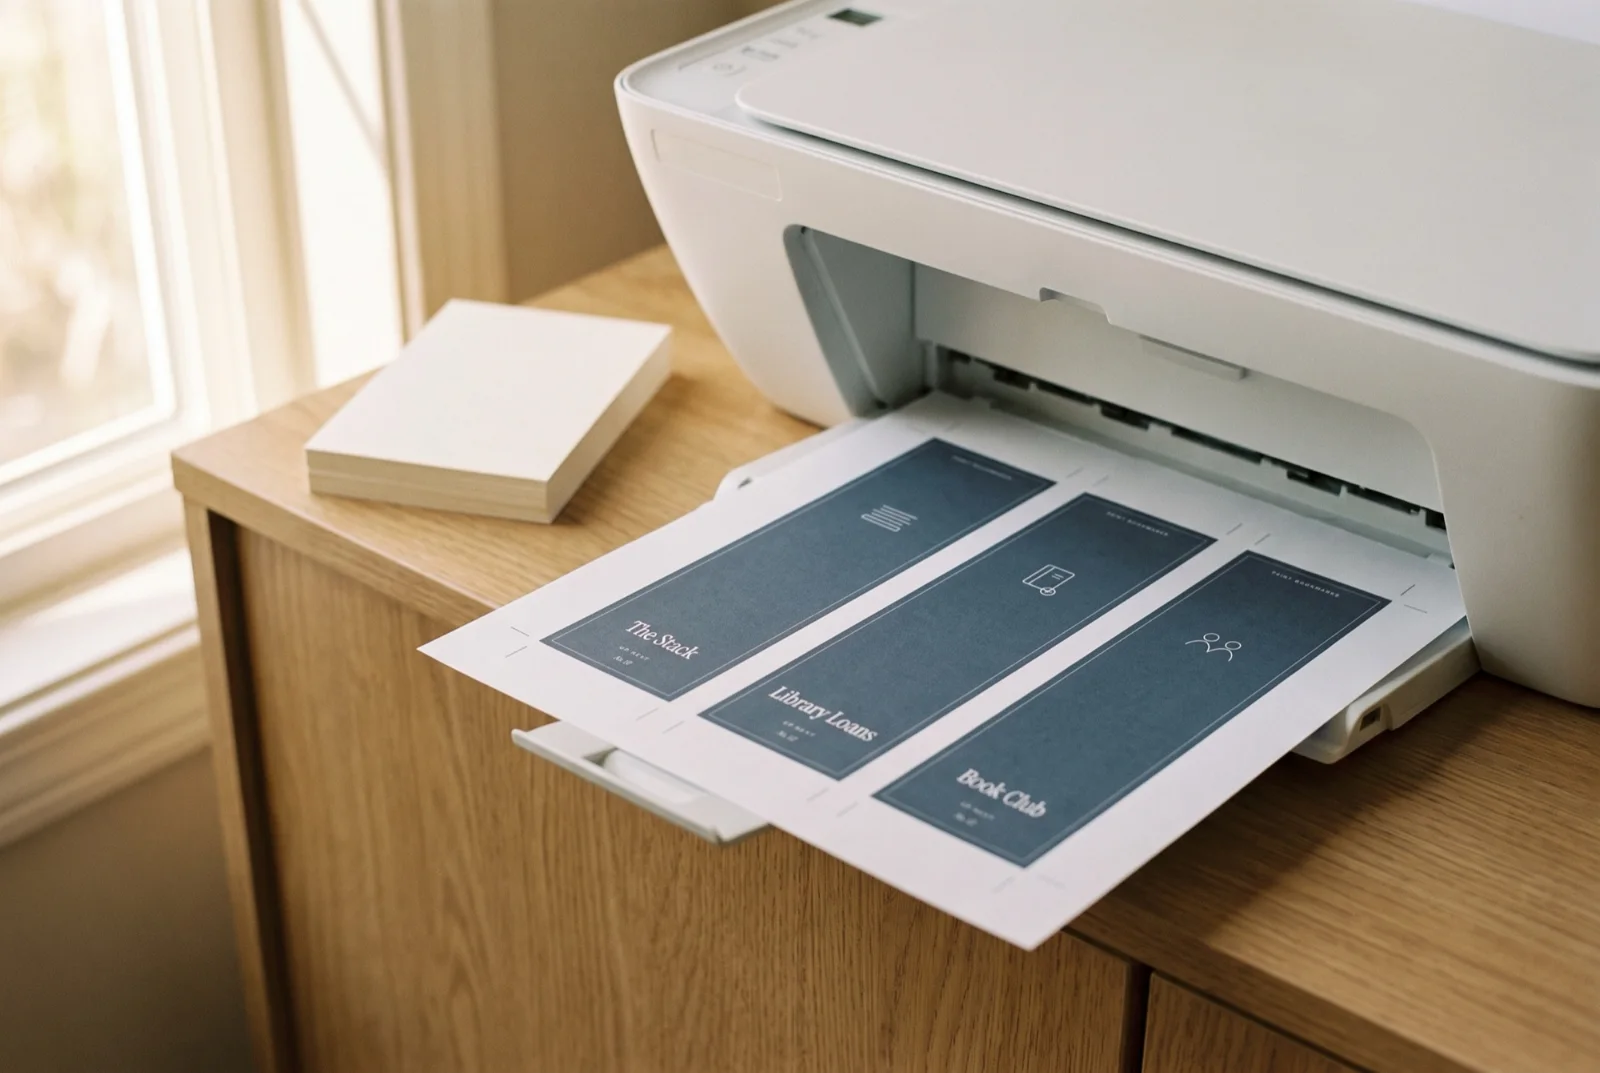
Double-sided bookmarks take a little care the first time, because the back has to land exactly behind the front. To get both sides lined up, choose card your printer can feed and print at actual size. Then test the flip on plain paper, print the back on the long edge and cut the long edges first. Once you know how to print bookmarks on card at home, a copy shop needs only a few instructions from you.
Step 1: Choose Card Your Printer Can Feed
Start with matte cardstock of about 176 gsm, sold in the US as 65 lb cover. Home inkjet and laser printers handle that weight, sometimes through a rear slot or manual feed rather than the main tray. Heavier card only makes sense up to the limit your printer's manual gives for that slot.
Look the limit up before you buy a pack. The Brother HL-L2350DW specifications, for example, list "60 to 163 g/m²" for the paper tray. The manual feed slot takes "60 to 230 g/m²," one sheet at a time. On that printer, card goes through the slot. Your own model will have a similar table under paper or media specifications.
Matte is worth choosing on purpose. A bookmark you write on needs a surface that takes pencil, and glossy coatings resist it. FedEx Office says the same about its own bookmark stocks, noting that "Coated and gloss options are not recommended for handwriting." Our guide to cardstock for bookmarks compares weights in more detail.
Step 2: Set the Print Size to 100%
Scaling causes most misaligned backs. Pick "Actual size" or "100%" in the print dialog, never "Fit" or "Shrink to page." A fitted page is scaled down slightly, so every strip comes out shorter and the back no longer sits over the front.
The PDF size and the paper in the tray should always match. A US Letter PDF belongs on Letter paper, and an A4 PDF on A4. Mixing them makes the printer either crop the edge or shrink the page without asking.
In the same dialog, set the paper type to the card you loaded and choose the high or best quality setting. The card setting matters for ink and feeding. Some printers then switch off automatic two-sided printing, which the long-edge step below works around.
Margins and Bleed on a Home Printer
Home printers leave a narrow unprinted margin around the sheet, so nothing you need should sit at the very edge of the paper. For your own design, keep every bookmark and its cut lines inside that margin. If a strip has a solid background, let the color run slightly past its cut lines. That extra color is called bleed, and it hides a cut that wanders a hair.
Borderless printing rarely helps here. On the Canon TS6300 series, choosing Borderless grays out two-sided printing altogether. FedEx Office's copy service has the same limit. It states that "Prints include a small margin and are not full-bleed."
Step 3: Test the Flip on Plain Paper
Print one double-sided sheet on cheap copy paper before you touch the card. Hold it up to a window or lamp. If the outlines on the front and back meet, your settings are right. If they drift, you lose a sheet of copy paper instead of card.
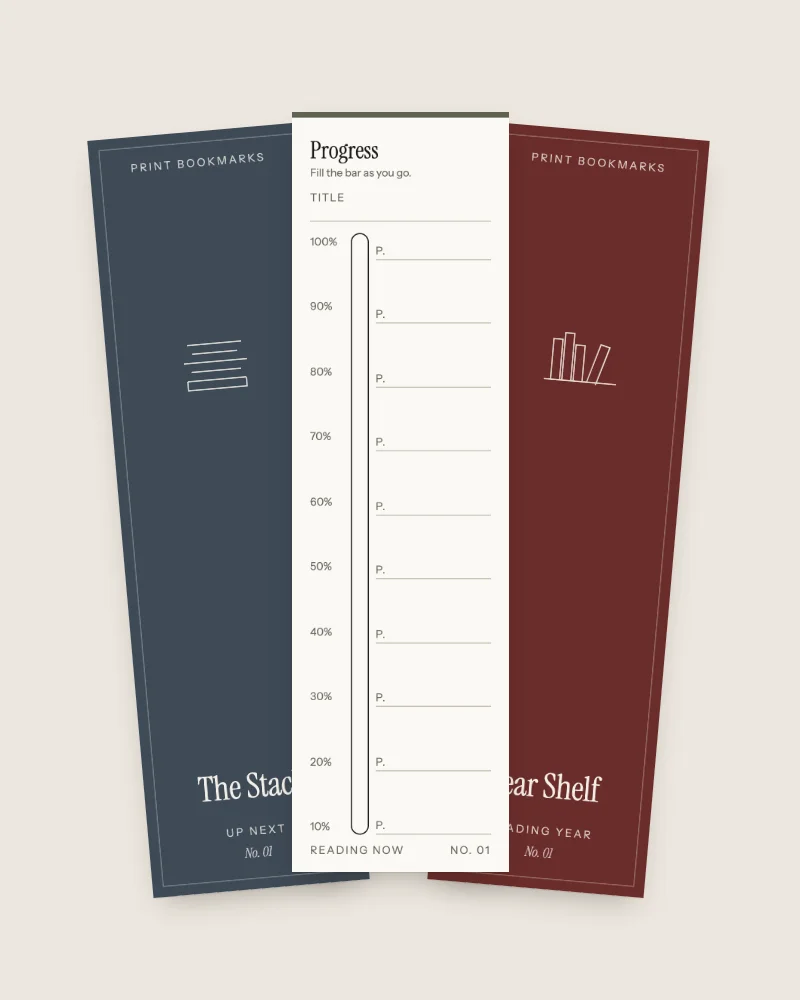
Our printable sets build this test in. Each set, such as the Up Next reading tracker bookmarks, puts a duplex test sheet on pages 3 and 4. You print it on plain paper, hold it to the light and check that the crosses meet before printing the bookmark sheets on pages 5 to 8.
Pro Tip: Before you reload the test sheet for its second side, pencil a small arrow at the top edge pointing up. When the sheet comes back out, the arrow tells you exactly how your printer turned the page, and you load the card the same way.
Step 4: Print the Back on the Long Edge
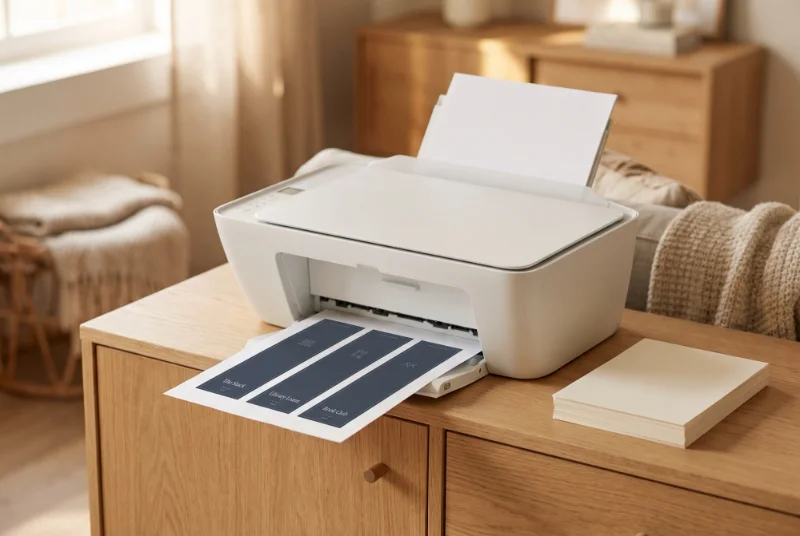
Flip on the long edge, the setting some printers call "long-edge binding" or "book style." A short-edge flip turns the backs upside down. Bookmark strips run the length of the page, so turning the sheet like a book page brings each back up behind its own front.
Automatic two-sided printing is the easy route on plain paper, but many printers switch it off for card. Canon's TS6300 manual is one example. "When a media type other than Plain Paper is selected from the Media Type list on the Main tab, Duplex Printing appears grayed out and is unavailable," it says.
When your printer grays out two-sided printing for card, print the two sides as separate jobs. Print only the front page, let the ink dry, then put the sheet back in the tray the way your test sheet came out. Print only the back page next, feeding one sheet at a time so two cards never pull through together.
Key Takeaway: On card, print the front and the back as two single-page jobs, reloading the sheet the way your plain-paper test came out, since many printers block automatic duplex on card.
Step 5: Cut the Long Edges First
Cut each sheet with a paper trimmer, or with a metal ruler and a sharp craft knife on a cutting mat. Long cuts come first. They separate the three strips, and then you trim the short ends. Short pieces are hard to hold straight, and the long cuts give you steady strips to square up. A fresh blade cuts card cleanly in one pass, while a dull one drags and tears the edge.
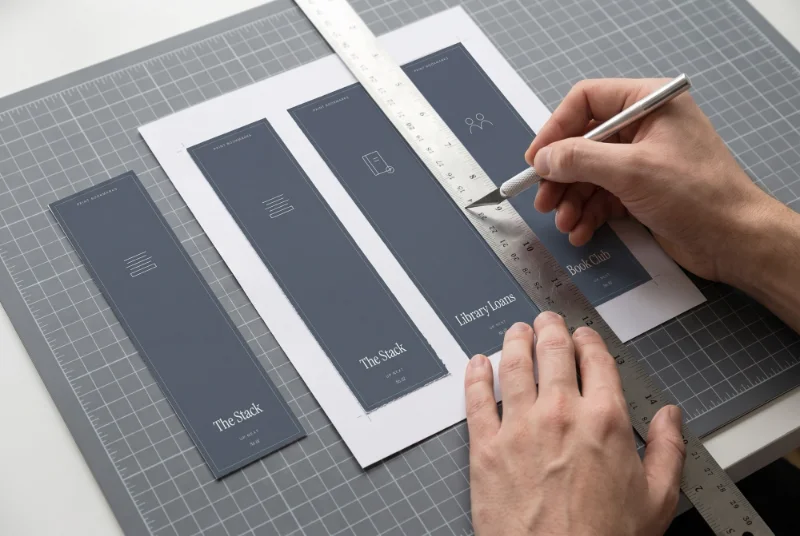
Each of our bookmarks trims to 2 by 7 inches (5.1 by 17.8 cm), three to a sheet. If you are designing your own, our guide to bookmark size lists the common sizes. A finished strip can go straight into a book, or on to laminating once you have written on it.
Overview of the Five Steps
| Step | What you do | What goes wrong if you skip it |
|---|---|---|
| 1 | Load matte card of about 176 gsm (65 lb cover), heavier only within your manual's limit for the rear or manual feed | Jams, or a glossy surface that resists pencil |
| 2 | Print at actual size (100%) on the paper size that matches the file, card setting, high quality | Shrunken strips and backs that drift off the fronts |
| 3 | Print one test on plain paper and hold it to the light | A wasted sheet of card |
| 4 | Flip on the long edge, or reload by hand for the back | Backs printed upside down |
| 5 | Cut long edges first with a trimmer or ruler and knife | Crooked strips that are narrower at one end |
How to Print Bookmarks at a Copy Shop
A copy shop is the answer when your printer refuses heavy card or you want a guillotine cut. Quantity decides the service.
Document printing handles a PDF you already have. Staples document printing lists cardstock among its papers and offers cutting "with your choice of custom document sizes." Its same-day service covers select products ordered by 12 pm. The FedEx Office copies service offers a "Matte Cover (100 lb.)" paper, single or double-sided, and says "Most printed documents are available the same day or within 24 hours." Ask the counter to print at 100%, flip on the long edge and cut along the lines on the sheet. Prices vary by shop and paper, so ask for a quote on card before you order.
Custom bookmark orders suit a batch of one design. You upload one artwork and receive identical bookmarks by delivery. FedEx Office lists its custom bookmarks at 2.25 by 8.25 inches, in quantities of 50 to 10,000, made and shipped by a marketplace seller.
| Option | Best for | What to check |
|---|---|---|
| Home printer | A few sheets, printed whenever you need them | Card weight your printer's manual allows, and the long-edge flip |
| Copy shop document printing | Heavier card than your printer takes, cut on a guillotine | 100% scale, long-edge flip, matte stock, price per sheet |
| Custom bookmark order | 50 or more copies of one design | Their fixed size and the delivery time |
Printable tracker sets are the wrong fit for a bulk order. Each of our sets holds six different personal trackers for you and your household. A school, library or author who needs a hundred identical bookmarks is better served by a custom order of their own design.
FAQ
How do I print my own bookmarks at home?
Use matte card of about 176 gsm (65 lb cover) in a home inkjet or laser printer and print at actual size (100%). Check the back on plain paper first, print the back flipped on the long edge or reloaded by hand, and cut the long edges first.
Will Staples print bookmarks?
Staples document printing can print a bookmark PDF on cardstock and offers cutting to custom document sizes. Same-day pickup applies to select products ordered by 12 pm. Ask for 100% scale and a long-edge flip so the backs line up.
What do I get when I buy a printable bookmark set?
A receipt email brings the download link right after payment. The download is a zip with a US Letter PDF, an A4 PDF and a README. Each set makes six bookmarks, front and back, three to a sheet.
How long does it take to have a finished bookmark in hand?
The download arrives with your receipt. That covers the plain-paper test, two card sheets printed front and back, and cutting six strips.
Can I print the same set again or give the bookmarks away?
Yes. You may print as often as you like for you and your household, and give printed bookmarks or sheets as gifts. Please do not share or resell the file.
Conclusion
Most printing trouble comes from scale, card weight and the flip. Each has a quick fix. Check your manual for the card limit, print at 100% inside the printer's margin, and let a plain-paper test decide how you reload. With those settled, a sheet of bookmarks is a short job at home or a short conversation at a copy shop.
Sources
- Brother, HL-L2350DW Specifications (n.d.) (last checked 2026-10-02)
- FedEx Office, Custom Bookmarks Printing (2026) (last checked 2026-10-02)
- FedEx Office, Copies & Custom Document Printing (2026) (last checked 2026-10-02)
- Staples, Document & Copy Printing (n.d.) (last checked 2026-10-02)
- Canon, PIXMA Manuals TS6300 series, Duplex Printing (2019) (last checked 2026-10-02)