Origami Bookmark: How to Fold a Corner Bookmark
Start with a 6-inch square of plain printer paper. Card is too stiff for the tuck in the last fold, and a 6-inch square gives a pocket with 3-inch sides, which covers the corner of a paperback page without hiding the text. The origami bookmark takes six folds, and a 6-year-old can do four of them alone after watching once.
The paper and the square
Plain printer paper is the right paper for a first corner bookmark, and 6 inches is the right square. The finished pocket has sides half the length of the square, so a 6-inch square gives a 3-inch pocket. That covers the corner of a paperback page and leaves the text clear. Cut a 5-inch square for a small paperback and an 8-inch one for a textbook.
Cardstock is the wrong paper here. The last fold tucks two layers into a pocket that is already two layers deep. Card either splits along the crease or springs back open. A pack of 6-inch origami paper is thin and already square, though its white back shows inside the pocket.
To cut the square from a US Letter sheet, measure 6 inches along the short edge from one corner and 6 inches along the long edge. Join the two marks with a ruler and cut. A 6-year-old can measure and mark, and most children under 8 still need an adult, or a paper cutter, for a straight cut. Check the square by folding it corner to corner. If the edges line up, the pocket will close.
How to fold an origami bookmark in six folds
The whole fold is one triangle, one flap folded down, and two corners tucked into the pocket that flap makes. Lay the square flat with one corner pointing at you. Crease every fold hard with a thumbnail, because a soft crease on fold 2 is what makes fold 5 fail.
- Fold the square in half corner to corner. You have a triangle with the long edge at the bottom and the point at the top.
- Take the top layer only and fold its point down to the middle of the bottom edge. The back layer still points up. The gap between the two is the pocket.
- Fold the right corner up to the top point, crease, then unfold it.
- Fold the left corner up to the top point, crease, and unfold that one too. You now have two guide creases.
- Hold the pocket open with a thumb, fold the right corner up along its crease and slide it into the pocket. Push it in until it lies flat. Do the same on the left.
- Press the bookmark under a book for a minute, then slide the corner of a page into the pocket.
Folds 1 to 4 are a child's own after one demonstration, and most 6-year-olds manage them by the second bookmark. Fold 5 is where the paper fights back. An adult holds the pocket open for the first two or three bookmarks, and after that the child does it with a thumb. If the corner goes in at an angle, pull it out and send it along the crease. Forcing it is how the tuck tears.
When the fold does not sit right
Corners that miss the top point in folds 3 and 4 mean the square was not square, and the fix is to re-cut. A quarter of an inch out at the cut turns into a lopsided ear at the end. A pocket that will not open was creased too hard in fold 2 with the layers pressed together. Run a finger between the flap and the back layer before fold 5.
Tucked corners that spring out again need pressing. Close the bookmark and leave it under two or three books for five minutes. A dab of glue stick inside the pocket does the same job and keeps a 6-year-old from unfolding it in class. A bookmark that slips off the page has a pocket bigger than the corner it sits on. Fold a 5-inch square next time, or push the page corner all the way in so the pocket is full.
Where corner folds come from
Origami means folded paper, as the Japanese American National Museum notes, and children have folded it in school since the 1800s. David Mitchell's timeline of recreational paperfolding records that Friedrich Froebel included paper folding in his kindergarten syllabus around 1850. The same timeline dates the earliest known paper, found in China, to between 179 and 14 BCE, and puts the Senbazuru Orikata, a book of crane designs, at 1797.
In the United States, OrigamiUSA says origami was relatively unknown until Lillian Oppenheimer discovered the flapping bird. The group that grew from her interest was incorporated in 1980 as an all-volunteer nonprofit and took the name OrigamiUSA on July 1, 1994. Akira Yoshizawa's 1954 book introduced the notation that, per the museum, became the worldwide standard for folding instructions.
When a printed bookmark is the better choice
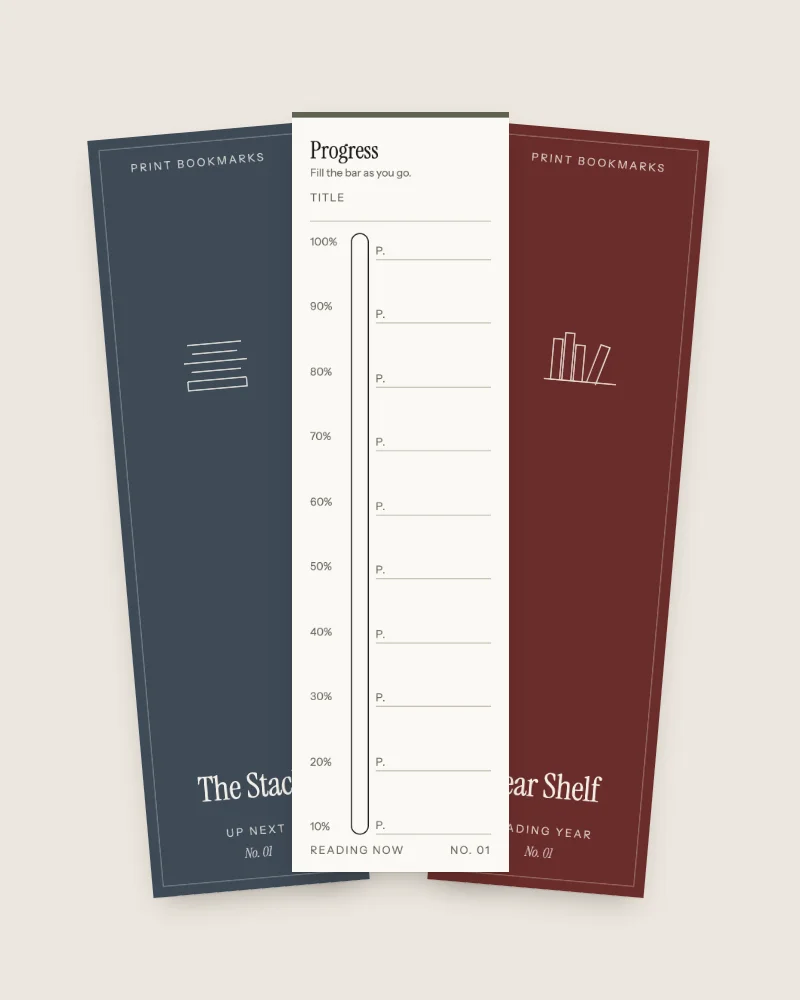
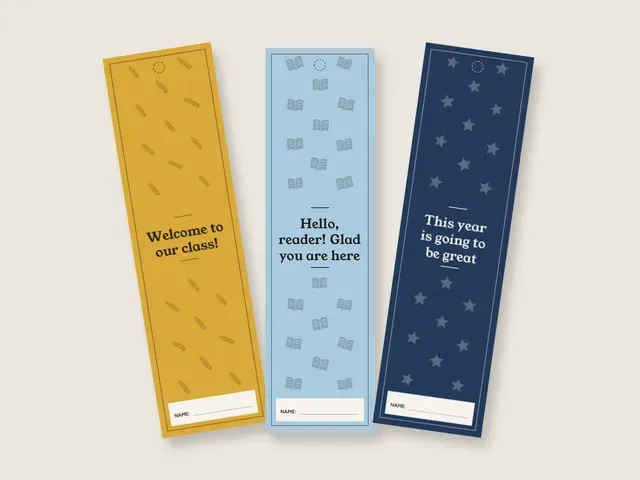
A folded corner is the best choice for one child, one afternoon and one paperback. For a class of 25, the cutting takes longer than the folding, and the printed strip wins. Our free printable bookmarks come four to a sheet with cut marks, each 2 by 7 inches, so a class of 25 needs 7 sheets. The back-to-school set has 8 designs with a name line, in color or as an ink saver on white. Print at 100% on 65 lb cover cardstock and cut along the marks.
A child who would rather color than fold does better with the coloring bookmarks. They have thick lines made for a 2 by 7 inch strip, and a reading log prints on the back if you choose double-sided. For a strip you make by hand, with a tassel or a laminated finish, the other ways to make a bookmark start from one piece of card.
One thing the corner fold does better than any strip is stay put. It grips a single page corner and comes off clean, which is most of what using a bookmark without bending pages comes down to. A strip can slide out of a bag, and the corner cannot as long as the pocket is the right size.
Turn the corner into a monster, a cat or a fox
Decorate after fold 6 and before the bookmark goes on a page, with the pocket facing you. The flap you folded down in fold 2 is the face. Draw on that flap and glue on the back layer, so the pocket still opens. A 6-year-old does the drawing alone. Cutting ears and teeth from the leftover strip is scissors work, so the adult cuts and the child places.
The monster is the usual first one. The pocket is the mouth, so cut a row of 5 or 6 white triangles and glue them just inside the top edge of the flap, points down, then draw two eyes above. A cat takes two triangles from the leftover paper, glued behind the top edge so they stand up as ears, plus whiskers and a pink nose at the point.
A fox is the same cat in orange paper with a white triangle on the point for the muzzle. A shark wants gray paper, teeth and one eye on each side. A frog is green with two paper circles glued above the edge for eyes. Use a glue stick, which dries flat where tape leaves a ridge the page catches on.
After the fifth monster, the bookmark ideas list has something to make when folding gets dull, from a gift tag to a word search on a strip. Write the child's name and the date in pencil inside the pocket, where it stays hidden and still gets the bookmark home from a classroom shelf.
Sources
- Japanese American National Museum, Folding Paper exhibition press release (2012) (last checked 2026-10-13)
- OrigamiMuseum.org (David Mitchell), Very Brief Timeline of Recreational Origami (2021) (last checked 2026-10-13)
- OrigamiUSA, History (n.d.) (last checked 2026-10-13)